Stop letting ArcGIS Online pick your thumbnails: brand every item in your org with under 200 lines of Python

Open your ArcGIS Online content page and look at it the way a client would. If you’re like most of us, it’s a patchwork: auto-generated map extents, gray placeholder grids, one or two hand-made images from that one time you had twenty spare minutes. Every item works fine — but the page doesn’t say “this organization sweats the details.”
Watch: from plain logic to Python, step by step (5:48)
Thumbnails are the first thing anyone sees in your content gallery, in group pages, in search results, and in every “add layer from my content” dialog your colleagues use. They’re also the single cheapest branding surface in the entire ArcGIS system: one PNG template plus one short Python notebook can restamp your whole org in minutes. We run this at All Things Spatial across 350+ items; here’s the complete workflow — template design, the SVG anatomy, and the ArcGIS API for Python batch job — with everything you need to run it on your own account.
What you’ll build
A notebook that walks every item you own in ArcGIS Online (feature services first), composites the item’s type and title onto a branded 600×400 template, and applies the result with one API call per item. Before/after:
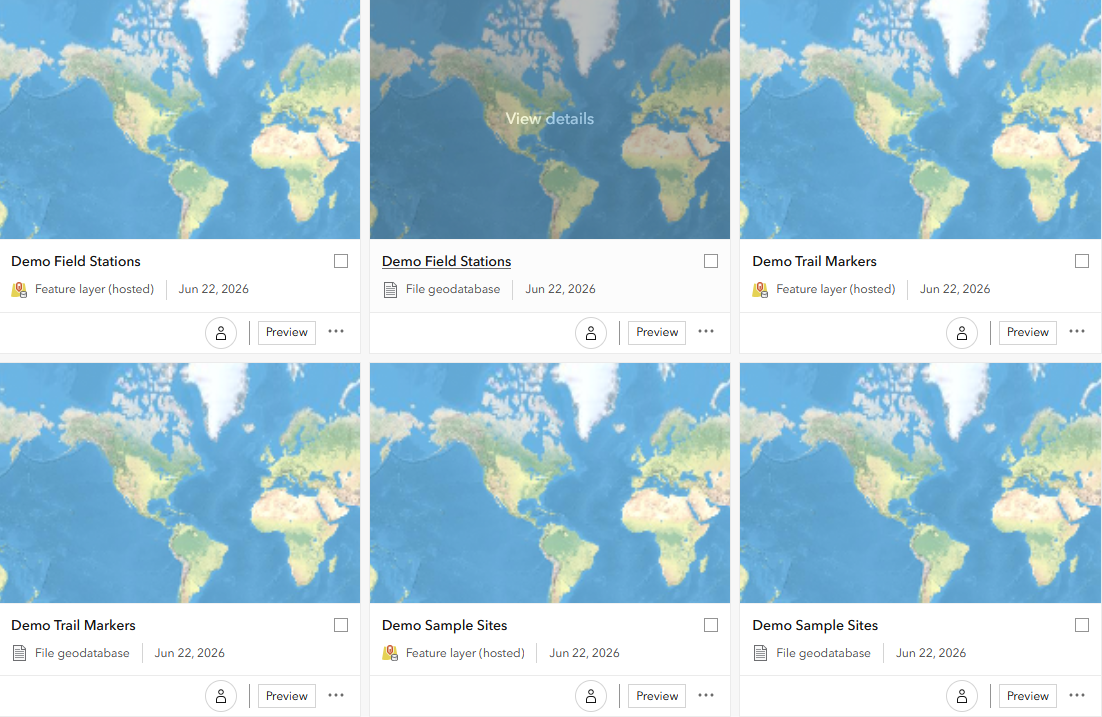
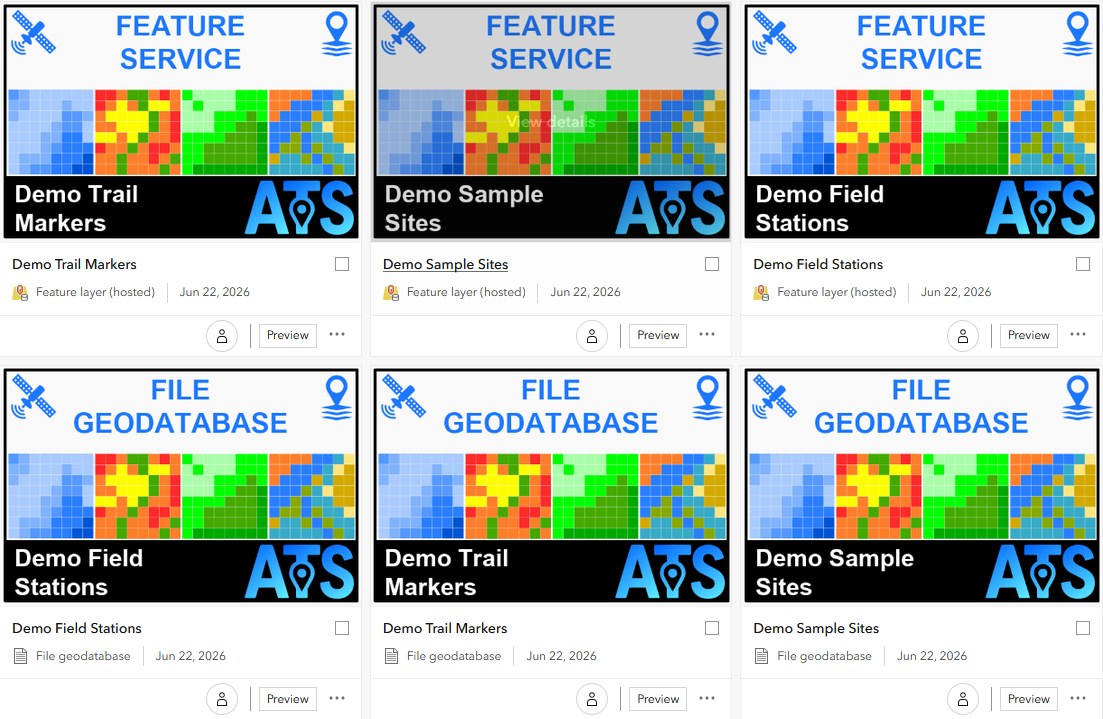
Sample outputs straight from the pipeline (these are real renders, not mockups):
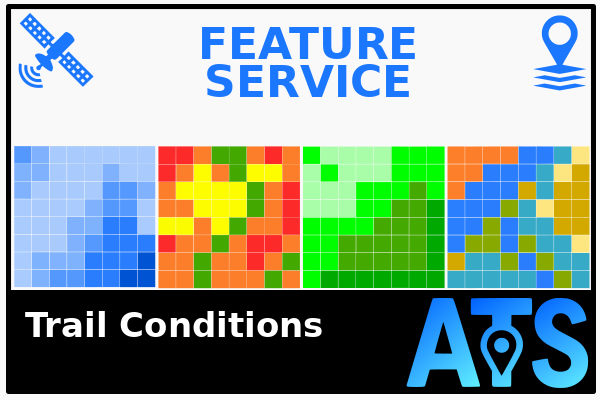
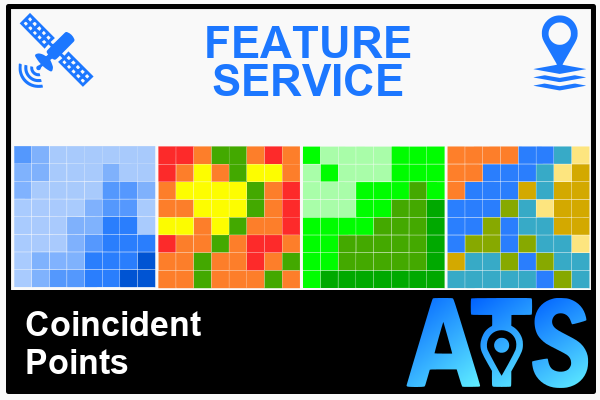
Why 600×400
Esri’s documentation recommends a thumbnail of 600 × 400 pixels (3:2) or larger, in PNG/JPEG/GIF — PNG renders crispest (Configure item details — ArcGIS Online Help). Anything smaller gets upscaled and looks soft; anything off-ratio gets cropped in some surfaces. Design at exactly 600×400 and you control every pixel everywhere the thumbnail appears. (Esri’s own Python API sample notebook “Examining item thumbnail size” is a good audit companion — it flags undersized thumbnails across an org.)
Part 1 — Design the template once
The master is an SVG (ours is built in Inkscape 1.4, 600×400 export). The design splits into three horizontal bands, two of which reserve a deliberately empty zone for text:
| Band | Contents | Filled by |
|---|---|---|
| Header (white, top ~25%) | Brand iconography in the corners (satellite, location pin) — center stays empty | Python stamps the item TYPE here, centered, brand blue #1C77FF |
| Body (middle ~45%) | The visual identity: four raster-style map panels (hydrography blues, thematic heat, land cover greens, imagery) | Static — part of the template |
| Footer (black, bottom ~30%) | ATS logo lockup pinned right — left side stays empty | Python stamps the item TITLE here, white, left-aligned |
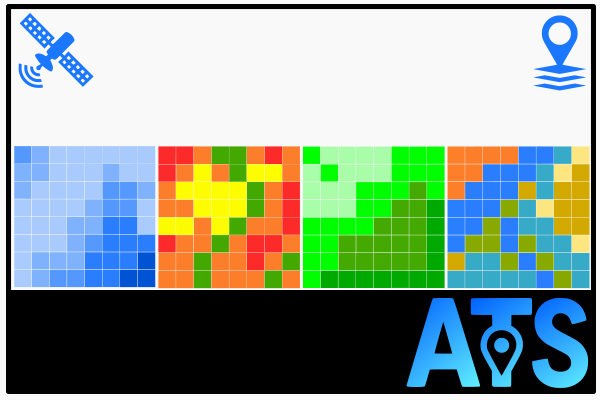
Because those two zones are the only dynamic part of the image, the script needs nothing more than two pixel rectangles — everything else is baked into the template. Here is exactly where each string lands on the 600×400 canvas. The coordinates are the real values the renderer uses (HEADER_BOX and FOOTER_BOX); image coordinates run from the top-left origin, +x right and +y down, which is how Pillow addresses pixels.
HEADER_BOX (on the x = 300 axis); the item title is left-aligned from x = 24 inside FOOTER_BOX. Both blocks auto-fit by measured pixel width — the renderer only ever computes positions inside these two rectangles.Design rules that make the automation work:
- Reserve the text zones in the design, not in code. The header center and footer left are empty on purpose. The Python script only needs two rectangles’ coordinates — it never has to detect where it’s safe to draw.
- Pin fixed art to the edges. Corner icons and a right-aligned logo survive any text length. Centered art would fight the dynamic text.
- Export the SVG to PNG once. The batch job composites onto the PNG raster — fast, no SVG rendering dependency at run time, and the template can’t drift between runs.
Why SVG as the master? Because the day you rebrand — new logo, new accent color — you edit one vector file, re-export one PNG, and re-run the notebook. The whole org updates in one coffee break. That’s the actual payoff of this architecture: rebranding becomes a batch job, not a quarter-long project.
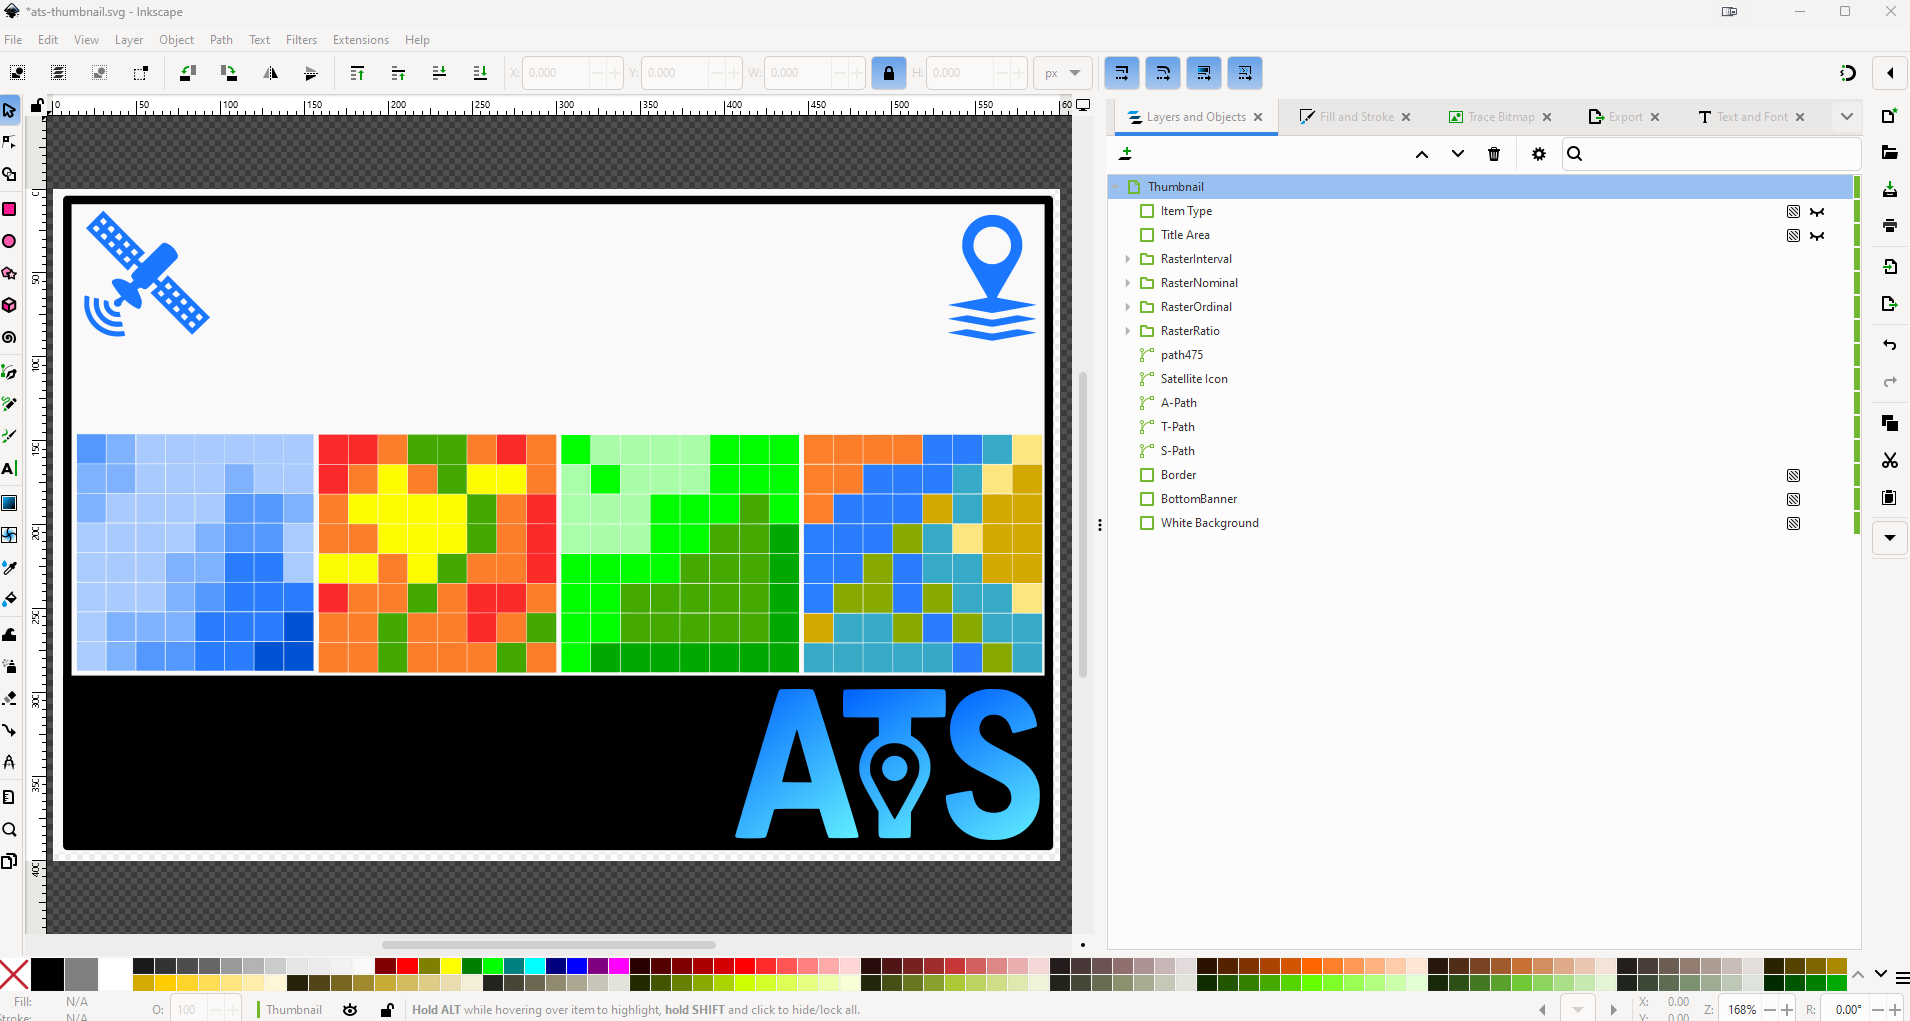
Item Type (header) and Title Area (footer); the script fills only those. To rebrand, you edit this one vector file, re-export the PNG, and re-run — the whole org updates in a coffee break.Part 2 — The notebook
The full notebook — plus a no-code ArcGIS Pro tool version — is yours to download below. It runs as written — verified against ArcGIS API for Python 2.4.2 (current release) in a clean Linux environment, dry-run against live ArcGIS Online. Walkthrough of the four moving parts:
2.1 Authenticate — without putting credentials in the notebook
try:
    gis = GIS("home")           # ArcGIS Notebooks / hosted environment
except Exception:
    username = os.environ.get("AGOL_USERNAME") or input("ArcGIS Online username: ")
    password = os.environ.get("AGOL_PASSWORD") or getpass.getpass("Password: ")
    gis = GIS("https://www.arcgis.com", username, password)
Inside ArcGIS Notebooks (or Pro), GIS("home") / GIS("pro")
inherits the signed-in identity — zero credentials in the file. Anywhere else, environment variables
plus a getpass prompt keep secrets out of the notebook, out of git, and out of
your published sample. If you run this routinely from a desktop, the GIS(profile=...)
pattern stores the password in your OS credential manager instead
(Working with different authentication schemes).
2.2 Find the items
query = f"owner:{me.username}"
items = gis.content.search(query=query, item_type="Feature Service", max_items=400)
ContentManager.search
scopes to your organization automatically; owner: narrows to your items, and the
item_type parameter is the clean way to target feature services first (the full
query grammar lives in the
ArcGIS REST search reference).
Start narrow; when the feature-service set looks right, set ITEM_TYPE = None and
let it restamp everything — web maps, apps, scenes, service definitions.
2.3 Render — Pillow does the typography
The render function opens the template, stamps the type into the header and the title into the footer, and saves one PNG per item. The interesting bits are the guardrails, not the drawing:
- Type band: uppercased and centered, then auto-fit: the renderer tries the largest font (54 px) and steps down to the biggest size that wraps inside the header box by measured pixel width (max two lines), so
WEB MAPrenders big and bold whileWEB MAPPING APPLICATIONsteps down to fit. - Title band: left-aligned and auto-fit from 40 px down to 20 px, up to three lines, wrapped on real pixel widths and vertically centered in the footer band. A character pre-cap (
max_title_chars) guards a pathological title; only text that still won’t fit is ellipsized — nothing overflows onto the logo.
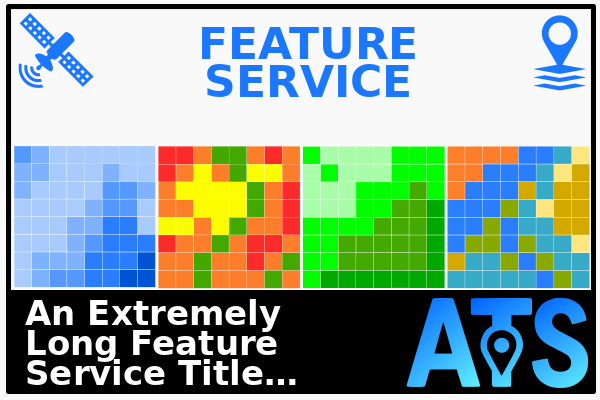
Because it measures real pixel widths (draw.textlength) instead of counting characters, the same function renders a 7-character title big and bold and steps a 70-character one down to fit — the artwork never has to be measured, only the text.
2.4 Apply — one line per item
item.update(thumbnail=str(thumb_path))
Item.update
takes a local path (or URL) for thumbnail — that’s the whole portal
write. A dedicated
Item.update_thumbnail
method also exists (adds Base64 and URL input modes) if you prefer the explicit form.
The notebook ships dry-run by default: it renders the full set to a local folder for review
and touches nothing until you flip DRY_RUN = False. Changed your mind on one item?
delete_thumbnail() removes it, and create_thumbnail()
regenerates the standard extent-based one for a feature service.
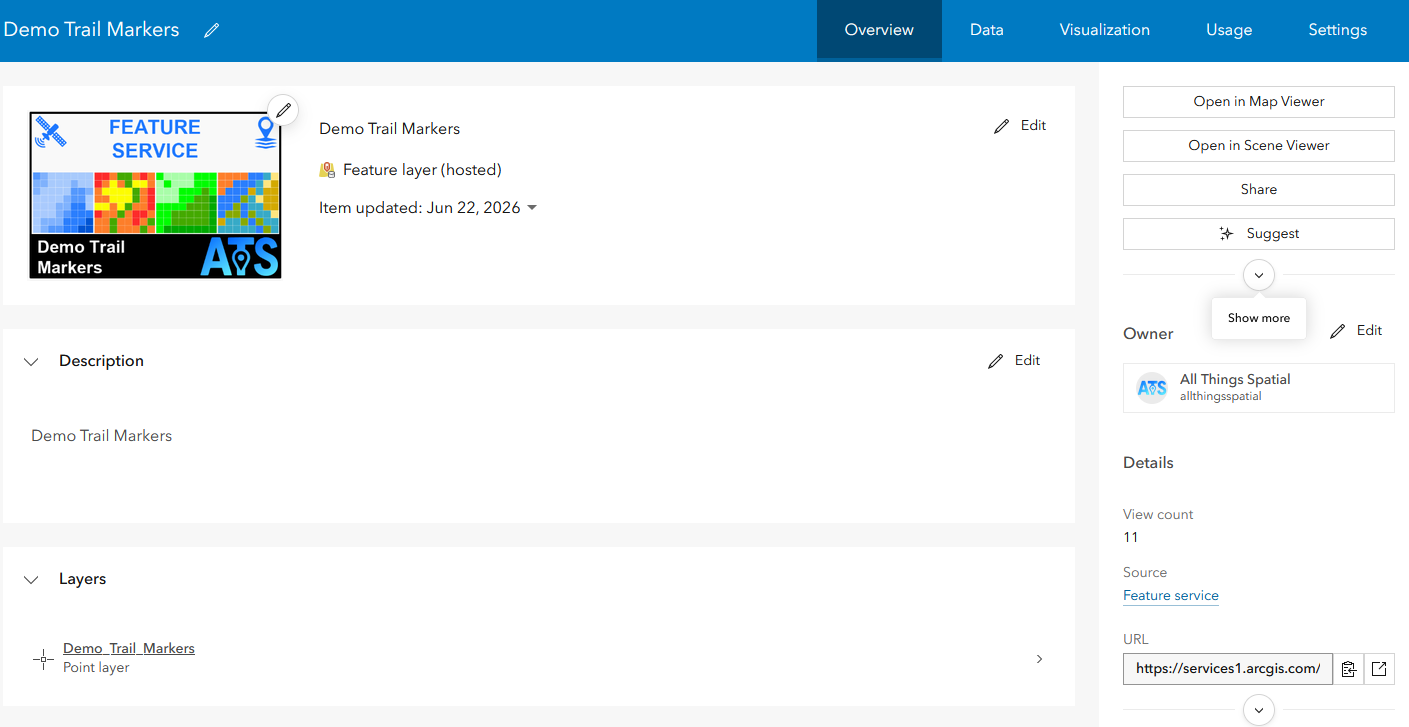
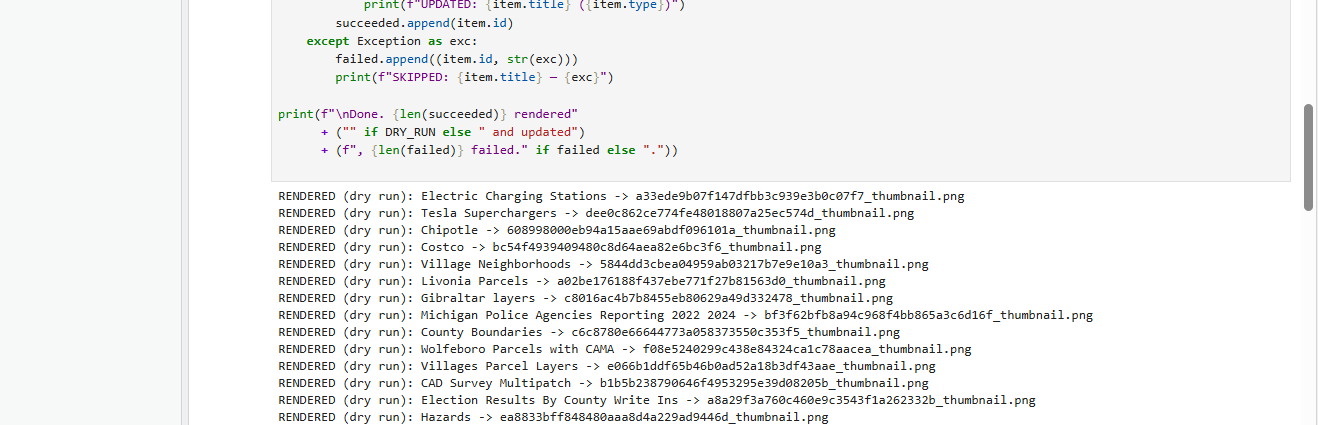
RENDERED line per item, scrolling across the org. Nothing is written to the portal until you flip DRY_RUN = False; the same loop then prints UPDATED as it applies each thumbnail.Results
On our account this restamped 355 items in a single run — feature services, web maps, apps, scenes, service definitions — with a handful of skips logged and retried. The content page went from patchwork to portfolio: every item answers “what is this and whose is it?” at a glance, and the org reads as designed rather than accumulated.
A note on the default auto-thumbnails: they’re doing honest work — an extent snapshot is genuinely useful metadata. This isn’t about defaults being bad; it’s about a content gallery being a brand surface you already own. If a default extent map serves a particular item better, keep it.
The reusable checklist
- Design a 600×400 PNG template with two reserved text zones (header = type, footer = title); keep fixed art pinned to edges. Master in SVG.
- Record the two boxes’ pixel geometry and a font auto-fit range (hi→lo); the renderer measures real pixel widths and picks the largest size that fits — short text big, long text stepped down.
- Authenticate with
GIS("home")/ env vars /getpass— never literals; clear notebook outputs before sharing. gis.content.search(query=f"owner:{me.username}", item_type="Feature Service")— start narrow, widen after review.- Dry-run the full render set to disk; eyeball it.
- Flip the flag;
item.update(thumbnail=...)does the rest. - Re-run any time titles change, items are added — or you rebrand.
Make it your own — the notebook or the Pro tool
We ship this two ways, both driven by the same render core, so you can run it however you work — grab one or both:
The .zip contains the toolbox and its ArcGIS Pro documentation.
The notebook exposes a single CONFIG cell — change the variables, Run All, done. The Pro tool is the same logic wrapped as a geoprocessing tool: drop the .pyt into a toolbox and fill in the dialog — no code at all. Both ship dry-run on, so the first pass only renders PNGs to a folder for review.
| Tool parameter | Notebook variable | What it controls | Default |
|---|---|---|---|
| Branding template (PNG) | TEMPLATE_PATH | Your 600×400 PNG template | — |
| Output folder | OUTPUT_DIR | Where rendered PNGs are written | — |
| Scope | SCOPE / FOLDERS | Whole account, or only chosen folders | Entire account |
| Item type filter | ITEM_TYPE | e.g. Feature Service; blank = all types | blank |
| Max title characters | MAX_TITLE_CHARS | Pre-cap before an ellipsis | 50 |
| Max title lines | MAX_TITLE_LINES | Footer title line budget | 3 |
| Dry run | DRY_RUN | Render only vs. write thumbnails to the portal | On |
| Brand color (hex) | BRAND_BLUE | Header (item type) color | #1C77FF |
| Max items | MAX_ITEMS | Safety cap on items processed | 2000 |
Fitting it to your brand is two edits: point TEMPLATE_PATH at your own 600×400 PNG, then set HEADER_BOX and FOOTER_BOX (the rectangles from the map above) to your template’s two reserved zones. The auto-fit ranges (TYPE_SIZE_HI/LO, TITLE_SIZE_HI/LO) tune how big the text may get. It’s plain Python — no build step, and the only dependencies are Pillow and the ArcGIS API for Python, both of which ship with ArcGIS Pro.
Dry run on for the first pass and eyeball the output folder; credentials come from your signed-in Pro / Notebooks session (GIS("pro") / GIS("home")) or environment variables — never hard-coded. If you share your edited notebook, clear the cell outputs first.We run this across whole ArcGIS Online portfolios.
Branded thumbnails, portal hygiene, and Python automation like the workflow above — set up once, run on a schedule. If you’d rather have it wired in than build it yourself, let’s talk.
Book a free intro call